Overview
EnviroInsite can generate a page layout that includes a title and subtitle, border area, and logo. One of the great advantages of using a title block generated within EnviroInsite is that the portion of the plot to be included can be specified, with everything outside automatically cropped out. Page layouts are also persistent, so if there is a particular plot area that is commonly generated, output for the page layout can facilitate this. Layouts can be easily created, named, and deleted.
Exercise Scenario
We want to provide custom figures of the data analysis generated for the Metal Plating Facilities. By creating customized page layouts, report figures can be easily generated and updated with new data.
|
Learn how to customize figures for reports. |
|
Exercise Objectives |
•Create New Layouts
•Plot North Arrows
•Plot Scales
•Create and Edit Title Blocks
•Export Images
Skills, Software and Permissions Required
•.NET Framework 4.6 or higher must be installed on the workstation
•EnviroInsite 2016 must be installed on the workstation
•Read/write permissions are required for the desired facilities
|
Objective: Create New Layouts |
1.If necessary, re-open the saved "insite1.vizx" file from the previous exercise.
2.Click Layouts> New.
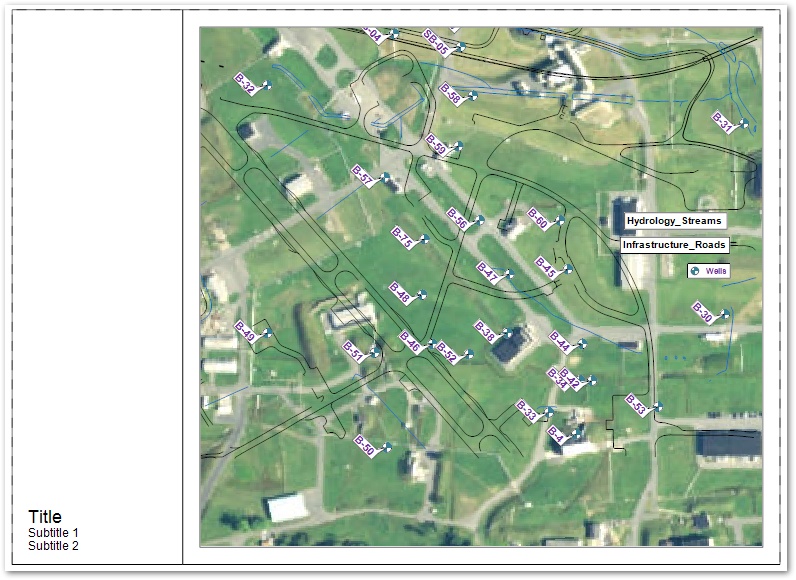
3.Select the corners of layout including all the plotted wells.
4.Single-click to complete the selection.
5.A dialog box opens requesting the user to enter the page layout information appropriate for the plot. Select OK to accept the default selections.
6.Toggle between Model and Layout modes by clicking on the layout selection button at the bottom of the display view.
![]()
|
Objective: Change the Layout Bounds |
1.Select Edit> Layout Properties.
2.Select Plan View.
3.Choose Draw Rectangle.
4.Re-draw the rectangle to include only the wells of interest.
5.Single-click to complete the selection.
6.Select the OK button.
7.Note that the Layout is re-drawn with the newly defined bounds.

|
Objective: Plot North Arrows |
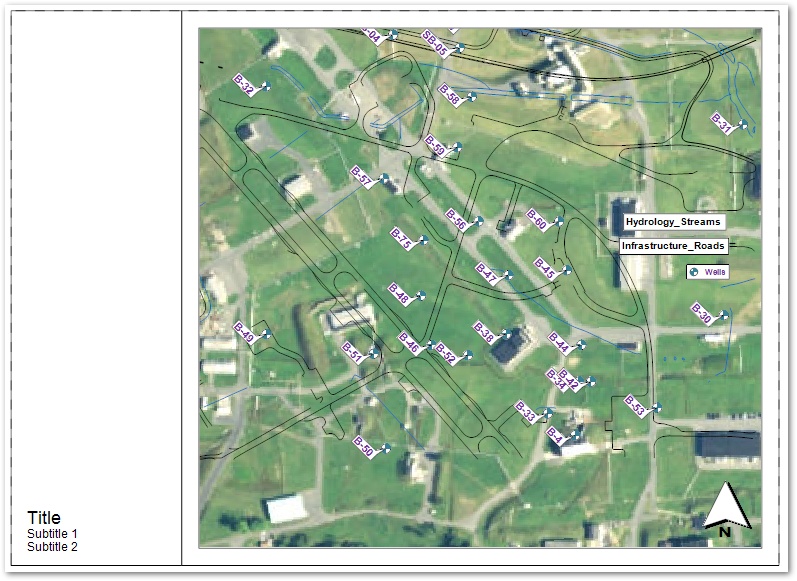
1.Select Draw> North Arrow
2.Set the Width and Height to 50.
3.Set the Text Height to 10.
|
The Arrow Width and Height and Text Height are in the same units of the map and may need to be adjusted, depending on the zoom level of the map. |
4.Select the desired north arrow style.
5.Select the OK button.
6.Move the north arrow in the title block or onto the map, as desired.

|
Objective: Plot Scales |
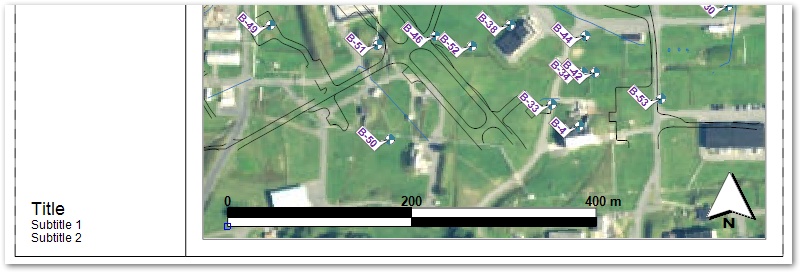
1.Select Draw> Scale.
2.Change the Length to 400.
3.Select the Format tab.
4.Change the Height to 20.
5.Change the Text Height to 10.
|
The Scale Length, Height and Text Height are in the same units of the map and may need to be adjusted, depending on the zoom level of the map. |
6.Select the OK button.
7.Drag the Scale to an appropriate location at the bottom of the plot.

|
Objective: Create and Edit Title Blocks |
Legends are sized based on the current view dimensions. EnviroInsite plots a legend at what is intended to be a legible size. This may result in the legend being drawn at a different height if you zoom in or out of a view and re-plot an object. Changing EnviroInsite's window size and re-plotting will also result in the legend appearing at a different size relative to the underlying map content. Complex layout title blocks can be constructed using the draw primitives (text, line, rectangle, and multi-line text). On completion, save the title block out to a layout template file that may be restored in another project file.
1.Select Edit> Layout Props.
2.Select the Titles tab.
3.Rename the Title, as desired.
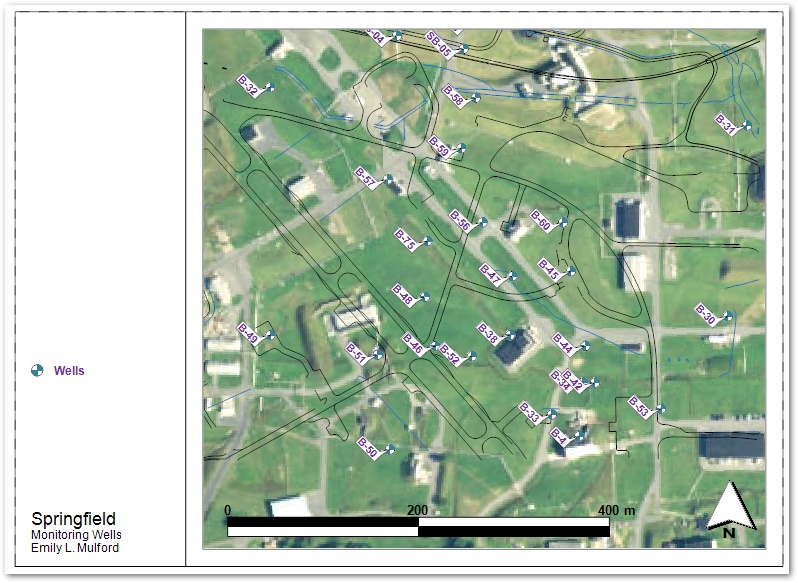
For this exercise, name the Title "Springfield".
4.Rename the Subtitles, as desired.
For this exercise, call Subtitle 1 "Monitoring Wells" and call Subtitle 2 "<Your Full Name>."
5.Select the OK button.
6.Select Edit> Reset Legends.
7.Click on each of the shapefile legends that appears in the title block and press Delete to remove them.
8.Scroll to the Shapefile layers and remove the checks at Legend to remove the shapefile legends from the map view.
9.Double-click on the Wells legend in the title block to open the Legend options dialog box.
10.Change the Scale to 2.
11.Select the OK button.
12.Move the Wells legend to or within the title block as desired.

13.Select File> Template> Save.
14.Name the file as desired and select Save.
|
Restore a template in a later session by selecting File> Template> Open. |
|
Objective: Export Images |
If desired, export the image as a CAD file or an image file.
1.Select File> Export> Image.
2.Choose the desired export location and extents, and then select Export. The file will be exported in the desired format and to the desired location.